

Wet Rooms: A Waterproofing Checklist for Success
Imagine stepping into a bathroom where the floor flows smoothly from the doorway to the shower, the glass feels nearly weightless, and every surface looks calm and intentional. A wet room can deliver that clean, accessible feeling, but its success depends on work hidden beneath the tile. Waterproofing must be planned before installation begins, not treated as a finishing detail.
This checklist will help you organize a reliable wet room bathroom, whether you are remodeling a compact ensuite or creating a spacious curbless shower.
Start with the Room's Structure
A wet room allows water to reach much of the floor, so the room needs a suitable foundation. Begin by inspecting the subfloor, wall framing, plumbing routes, and ventilation. Any movement, dampness, or rot should be repaired before waterproofing products are installed.
A solid substrate matters because tile and grout are not waterproof barriers. They can absorb moisture and allow water to travel into framing or flooring. Ask your installer to confirm that the floor is stable, clean, and properly prepared for the selected membrane system.
Check the floor height at nearby doorways as well. A curbless shower often requires space for a sloped shower base, drain assembly, waterproofing layers, and tile. If the existing floor cannot be lowered, a slightly raised bathroom floor or a linear drain near the wall may provide a practical solution.
Plan the Slope and Drainage
Water needs a clear route to the drain. A shower floor commonly uses a slope of about 2 percent, often described as a quarter inch per foot, though local requirements and product instructions should guide the final specification.
Before any mortar bed or shower pan is formed, confirm the drain location suits the room layout. The drain body must be compatible with the waterproofing system. The finished floor must slope consistently toward the drain with no low spots that will collect water. The transition into the shower must remain comfortable and safe.
Linear drains can simplify a curbless shower install because the floor can slope in one direction. A center drain may require slopes from several sides, which can create more complex cuts and changes in elevation. Either option can work when installed accurately.
Select One Complete Waterproofing System
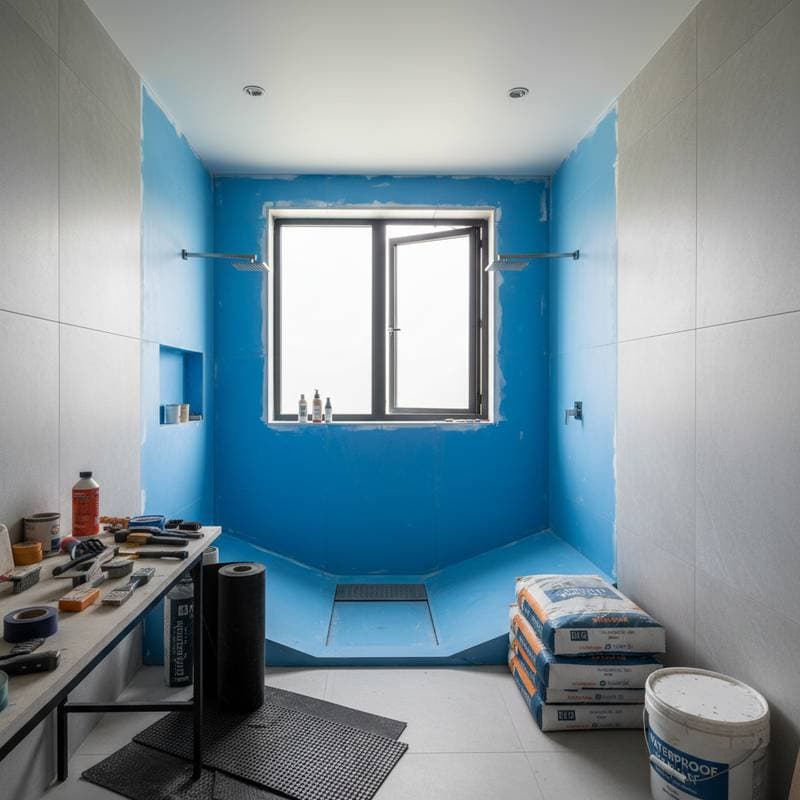
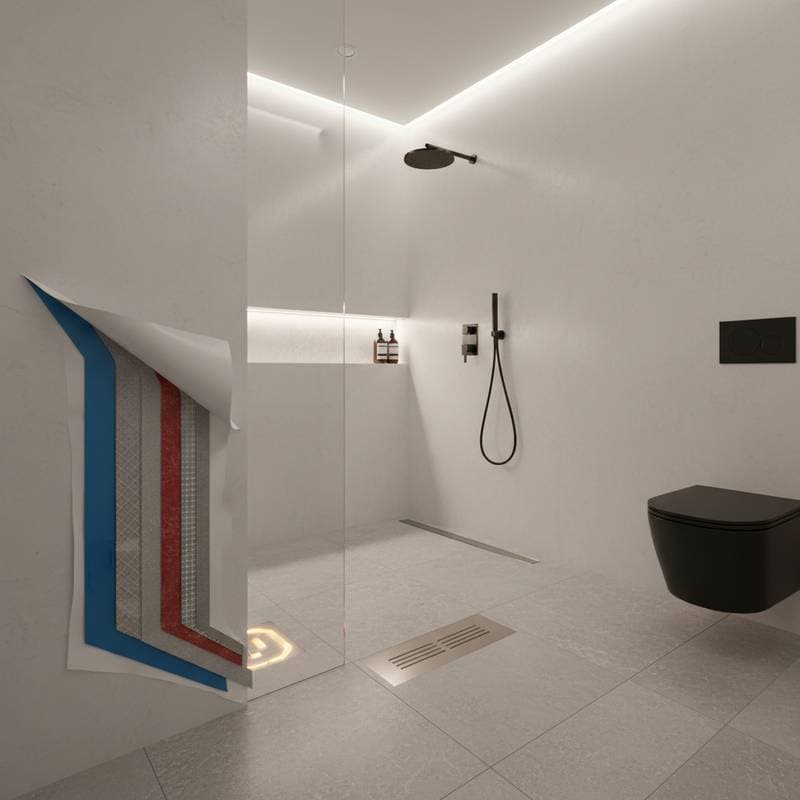
Wet room products should work together as a tested system. That may include a sheet membrane, liquid membrane, prefabricated shower tray, sealing tape, corners, bonding adhesive, and drain components. Mixing unrelated products can create compatibility problems, especially where membranes meet drains, niches, benches, and wall joints.
Ask for product instructions before installation. Confirm the required substrate, primer, adhesive, drying conditions, overlap details, and curing periods. A professional installer should be comfortable explaining how each component connects.
Sheet membranes offer consistent thickness and can make coverage easy to inspect. Liquid membranes are useful around irregular shapes and penetrations, but they require careful application at the specified thickness. Thin or uneven coverage can leave weak areas that are difficult to see once tile is installed.
Waterproof Every Vulnerable Surface
A true wet room usually needs protection across the entire floor and several inches up adjoining walls. In a fully open design, waterproofing may extend across all walls. The shower area should receive complete coverage from floor to ceiling or to the height required by the selected system.
Pay close attention to wall and floor junctions, inside and outside corners, pipe penetrations, shower valve openings, drain connections, bench edges, recessed niches, doorway transitions, and toilet and sink supply lines. These locations need compatible seals, not just extra grout or caulk. Sealant can finish a joint, but it should not substitute for a properly integrated waterproofing detail.
Treat Niches and Benches with Care
Built-in storage makes a bathroom easier to use, yet niches create several corners where moisture can gather. The base of a niche should slope slightly toward the shower so bottles do not sit in standing water. Every corner requires a continuous membrane and properly sealed transitions.
A bench needs the same attention. Its top should shed water toward the shower, while the front, sides, and wall connection remain fully waterproofed. Choose a solid, moisture-resistant construction rather than relying on ordinary drywall or untreated wood.
Protect the Doorway and Adjacent Rooms
The bathroom entrance deserves careful planning, especially when the room has no shower curb. Waterproofing should turn up at the threshold and connect securely to the doorway detail. Some installations use a small concealed upstand beneath the door, while others depend on a carefully formed membrane transition and a sloped floor.
Think about what happens if the drain becomes blocked. A wet room should manage normal splashes and spills without sending water into the hall, but its design should also limit damage during an unexpected overflow. A bathroom door that opens outward can improve access and provide a safer exit route.
Test Before Tiling
Do not rush to cover the membrane. Once the waterproofing is complete, inspect every seam, corner, penetration, and drain connection. Look for bubbles, pinholes, lifted edges, tears, and areas with incomplete coverage.
A flood test may be required for the shower pan or entire wet area. The installer should follow local rules and the membrane manufacturer's instructions. Water must remain in place long enough to reveal leaks, with the level marked for comparison. Check adjoining rooms, ceilings below, and exposed framing where accessible.
This inspection is the best opportunity to correct a problem. Repairing a membrane before tile is installed is straightforward. Finding the same issue after grout, fixtures, and trim are in place can mean costly removal.
Choose Materials That Support Maintenance
Tile size affects both appearance and drainage. Smaller floor tiles can follow slopes more easily, while large tiles create a quieter visual field but may require more careful planning around the drain. Textured porcelain can offer useful slip resistance without making cleaning difficult.
Use grout and sealants recommended for wet areas. Keep movement joints where the floor meets walls and around changes in plane. These joints should use an appropriate flexible sealant rather than rigid grout, which can crack as surfaces move.
Ventilation matters too. A strong exhaust fan, correctly sized for the room and vented outdoors, helps surfaces dry faster. Include a timer or humidity control if it suits your household routine.
Maintain Performance Over Time
Once your wet room is complete, keep the drain clear, wipe excess water from ledges, and inspect flexible sealant from time to time. Watch for cracked grout, loose tiles, staining, or persistent damp smells. Small changes can signal moisture behind the finish and deserve prompt attention.
A successful wet room combines graceful design with disciplined preparation. Plan the slope, choose a compatible system, seal every penetration, test before tiling, and protect the doorway.