Essential Waterproofing Strategies for 2025 Wet Room Remodels
A recent report from the National Kitchen and Bath Association reveals that over 45% of bathroom remodelers surpass their budgets because of water damage issues uncovered during construction. Waterproofing failures rank among the primary reasons for these overruns in wet room projects. Homeowners can sidestep such expenses by focusing on meticulous planning, precise budgeting, and strategic material selection from the outset.
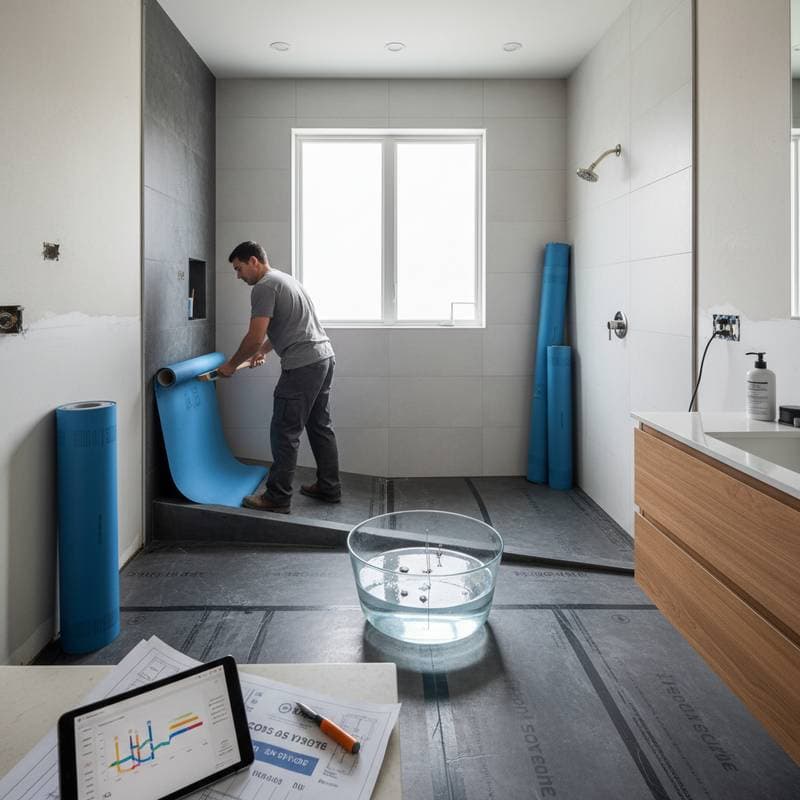
Wet rooms, particularly those with seamless, curbless showers, require exacting moisture management to prevent leaks that escalate into major structural problems. Proper waterproofing not only preserves the integrity of the space but also enhances its longevity and value. This guide provides a comprehensive approach to waterproofing, emphasizing financial considerations and professional techniques to ensure a successful renovation.
Planning Waterproofing Foundations
Effective waterproofing begins with detailed site assessment and design preparation. Evaluate the subfloor for levelness and existing moisture before any work starts. Incorporate a minimum 1/4-inch slope per foot toward the drain in shower areas to direct water flow efficiently.
Consult local building codes early, as they often mandate specific waterproofing standards for wet rooms. Engage a structural engineer if the space involves load-bearing changes or adjacent dry areas. This preparatory phase typically accounts for 15% of the total budget but prevents up to 30% in corrective costs later.
Document the layout with detailed drawings that specify drain placements and membrane coverage. Such planning minimizes errors during installation and facilitates smoother contractor coordination.
Selecting the Appropriate Waterproofing System
Wet room waterproofing relies on two primary systems: liquid-applied membranes and sheet membranes. Each suits different project needs based on surface type and complexity.
Liquid membranes offer versatility for curved or uneven substrates, with installation costs ranging from $1 to $2 per square foot. Apply them in multiple thin coats for seamless coverage that accommodates minor movements in the structure.
Sheet membranes provide uniform thickness and ease of installation on flat surfaces, priced at $2 to $4 per square foot. They excel in high-traffic areas where consistent protection against water penetration proves essential.
Sarah Lim, a certified building envelope consultant with 18 years at Pacific Design Engineering, notes, “Selecting the correct system hinges on the substrate condition, slope accuracy, and room usage. The lowest initial price may lead to higher long-term expenses if the choice proves unsuitable.”
Test samples of chosen materials on a small area to verify adhesion and compatibility with tiles or grout. This step ensures the system integrates fully with the overall design.
Budgeting Effectively and Handling Variables
Waterproofing expenses vary based on labor demands, geographic location, and subfloor preparation needs. Demolition might uncover hidden dampness or irregularities, prompting a 10% to 20% rise in labor charges.
Obtain a preliminary estimate that encompasses potential substrate fixes and details specific membrane brands. Many contractors omit preparatory tasks from initial quotes, leading to surprises during execution.
For a standard wet room, professional installation falls between $1,500 and $4,000. Confirm your contractor holds certification for the selected system, as manufacturers typically invalidate warranties otherwise.
Factor in regional material surcharges and seasonal labor rates when setting your budget. Allocate a 15% contingency fund to address unforeseen issues without derailing the project timeline.
Implementing Quality Assurance and Inspections
Prior to tiling, subject the waterproofing layers to a flood test, which simulates water pressure to detect weaknesses. This procedure costs $200 to $400 yet averts thousands in future repairs.
Building codes in many areas now mandate flood testing for wet room certifications. Schedule it after the membrane cures fully, typically 24 to 48 hours post-application.
Daniel Cortez, a moisture control inspector at BuildCheck Consulting, states, “Omitting the flood test resembles bypassing a pre-purchase home inspection. It represents the most reliable method to identify leaks prior to permanent fixtures.”
Request staged photographic records from your team. These visuals support warranty enforcement and offer proof of compliance during property sales.
Incorporate visual inspections at key intervals, checking for pinholes or overlaps in the membrane. Address any discrepancies immediately to maintain system integrity.
Optimizing for Durability and Cost Efficiency
Value engineering balances initial investments with sustained performance in wet room designs. Opt for premium sealants around fixtures and pre-sloped foam bases to minimize grout wear and leak risks.
Integrate drainage channels with anti-microbial properties to combat mold growth in humid environments. These additions extend the lifespan of the waterproofing by 20% to 30%.
Select tiles with low water absorption rates, under 0.5%, to complement the membrane system. Regular maintenance, such as annual sealant reapplication, further reduces long-term upkeep costs.
Compare warranties across products; those exceeding 10 years often justify a modest premium through reduced replacement needs.
Safeguarding Your Wet Room for the Future
A well-executed wet room renovation boosts accessibility and aesthetic appeal while increasing property value. Treat waterproofing as a core investment that underpins the entire project.
By integrating these strategies, homeowners achieve a leak-resistant space that withstands daily use. This approach not only controls costs but also delivers enduring functionality and peace of mind.


